Module 30 Git
Perhaps the below is familiar to you…
Or this…

There is a better way
Version control systems (VCS) are software tools meant to help programmers collaborate, maintain source code, document changes, and generally keep track of their files. Instead of reading, sit back and watch this video.
Having a working knowledge of a version control system will allow you to better organize and track your own files, as well as collaborate on teams. Though there are lots of different systems out there, the most popular version control system is “git”. Let’s dive in (next chapter).
What is git?
Git is a software for “version control”: ie, tracking changes to sets of files. It is a very commonly used tool in programming, computer science, data science, and software development in general. For anyone working in data science, knowing git is a must.
But what is it, exactly? Git is a system for tracking, organizing, sharing, and reviewing changes to software. It’s very flexible, and very powerful. And learning it can sometimes feel a bit overwhelming, because it has so many features and capabilities. But the Pareto principle (ie, the 80/20 rule) applies here: most of what you need to know to competently handle git, you can do in very little time.
Why?
Why use git? Why not just save files with meaningful names, make changes to them, overwrite the old changes, etc.? Why not just treat code the same way we treat a MS Word document, or write code collaboratively using interactive, auto-saving tools like Google Docs?
There are a number reasons:
- First, writing code is not like writing a paper. If you make a mistake in the introduction of a term paper, it doesn’t “break” your conclusion. But with code, minor changes to one line of code can have a very large impact on how other parts of that code work. Therefore, tracking minor changes is essential to recovering from errors and managing complex, interdependent software components.
- Second, collaborating on code is more complex than collaborating on a term paper. To combine (merge) one person’s work with another often requires very careful review. Git optimizes for this.
- Third, code is rarely “done”. It’s usually a work in progress. Git takes this into account, and is set up for very structured checkpoints (commits), change suggestions (pull requests), etc.
- Finally, git is the “lingua franca” of version control. Employers often request to see a prospective employee’s github profile, and expect that programmers and developers of all types (including data scientists) be proficient in git.
Get ready for git
It’s time to “git” started. Rather than diving into too much theory, let’s skip right to the practice. Like this:
Installation
We’ll start by installing git. Go here and follow the instructions for your operating system.
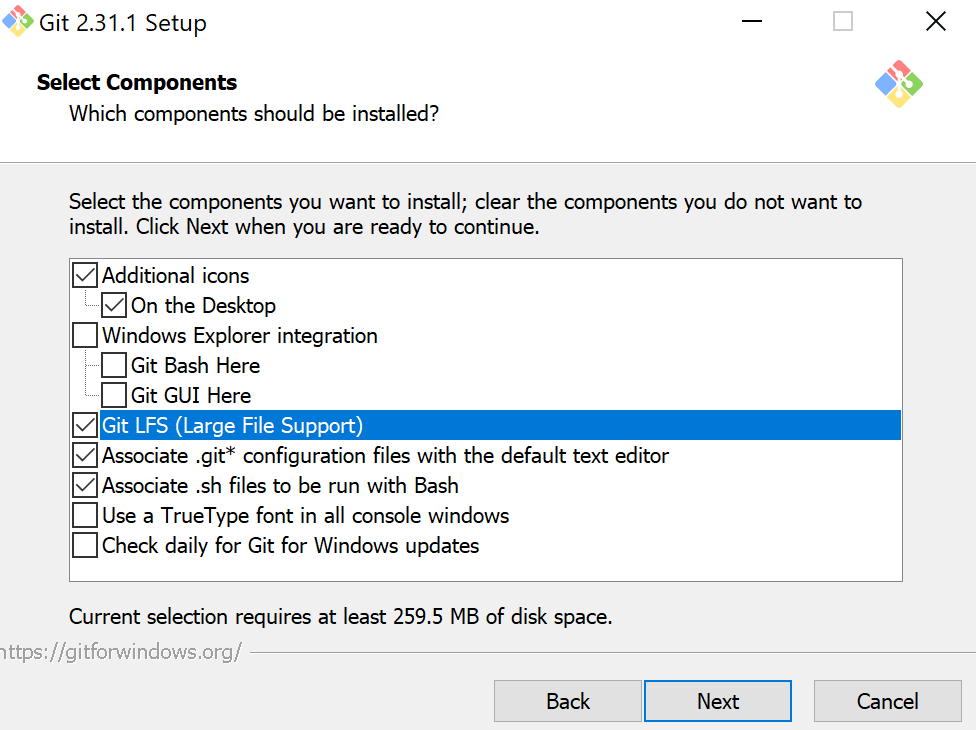
Windows
On windows, once you’ve downloaded, you’ll want to select the below parameters:
The program will prompt you to pick a text editor. Select notepad.
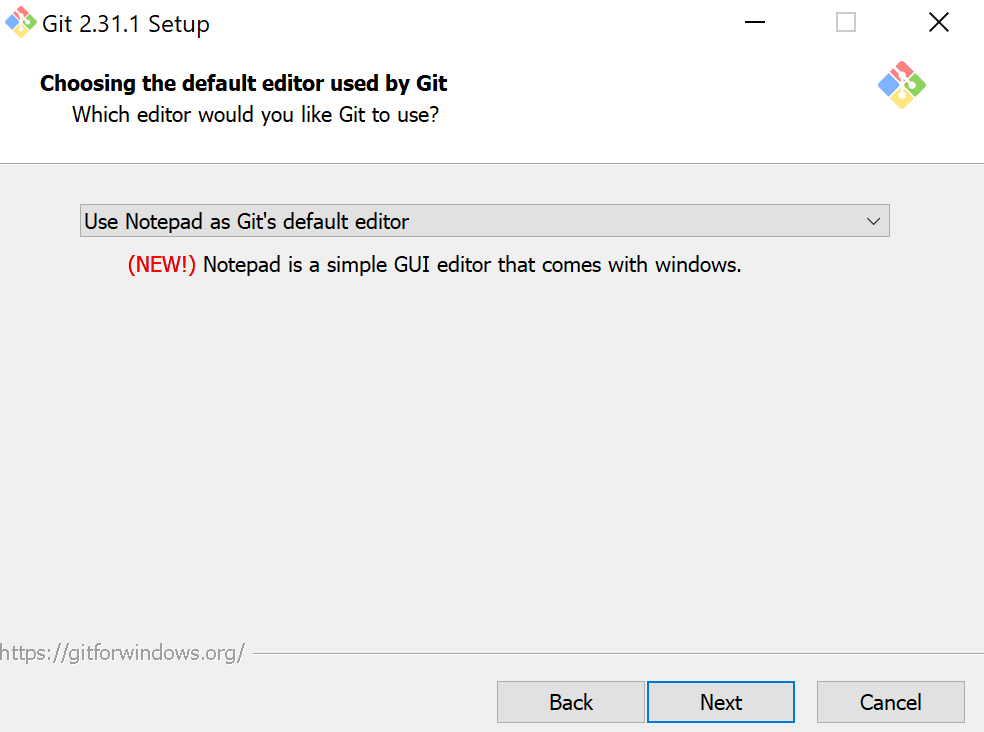
For all other options, leave settings as default and click “next”. The program will now install.
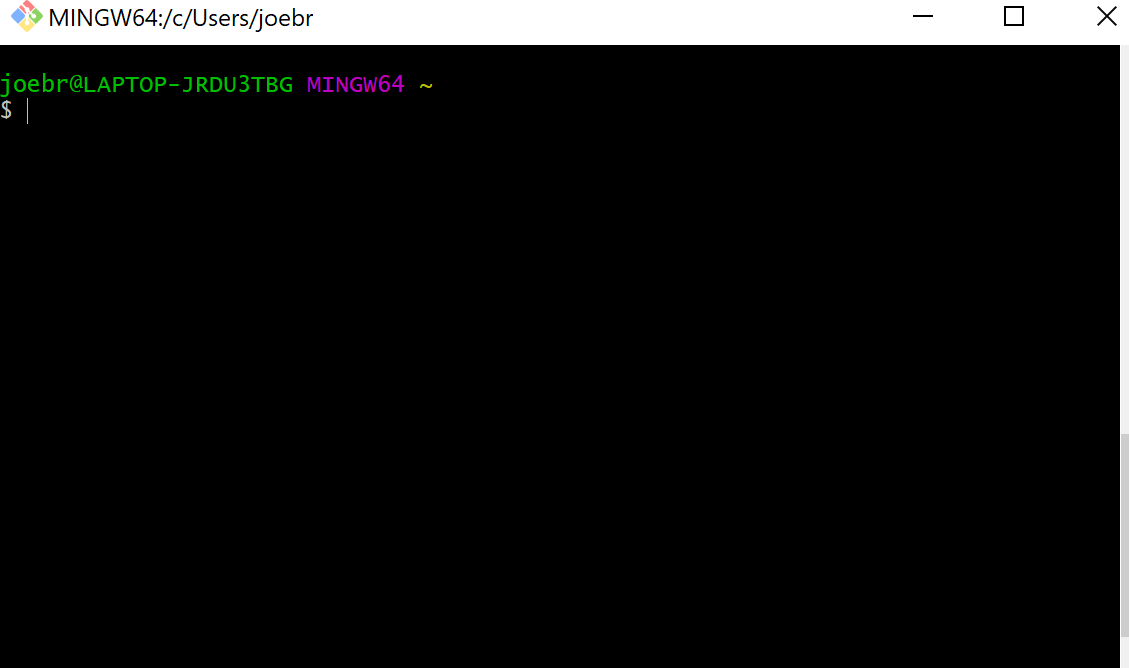
After installation, there is an option to “Launch Git Bash”. Click it.
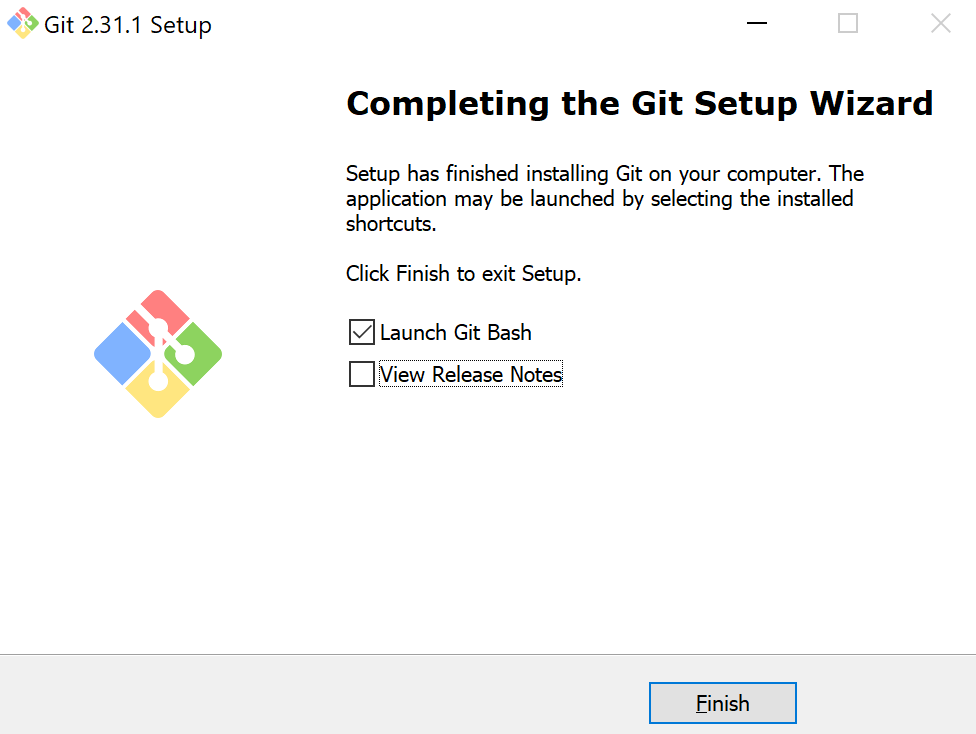
This will open a “terminal” window:
Mac
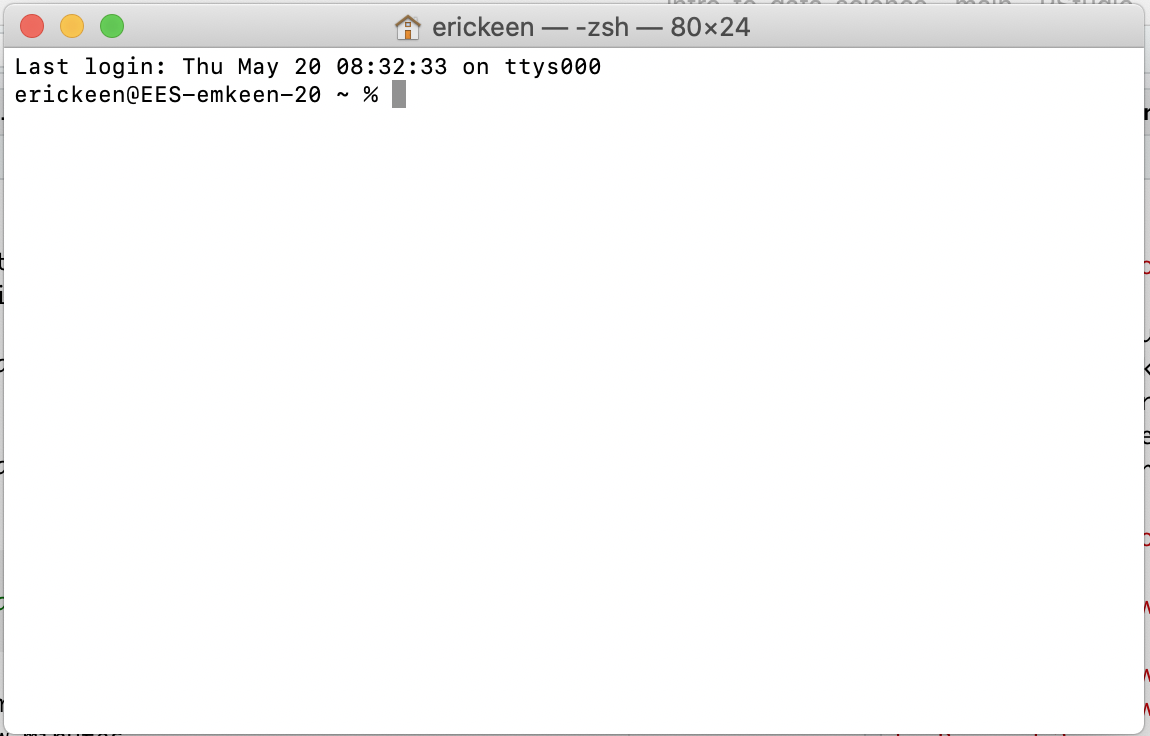
To get Git on your Mac, you will be typing commands into your computer’s Terminal. “Terminal” is the Mac word for the “Git Bash” window you will be using in the next section.
- To open Terminal, open the Mac Search (
Command+Spacebar) and search “Terminal”. PressEnter. A Terminal “shell” window will appear:
- Next we need to download and install a software management tool called Homebrew. Copy and paste the following command into your Terminal, and press
Enter:
You will likely be asked for your computer password. Press Enter when instructed to do so. Downloading Homebrew might take a few minutes.
- Now that Homebrew is installed, copy and paste the following command into your Terminal, and press
Enter:
After a minute or two, Git should be downloaded, installed and ready to go.
Getting to know git bash
The strange little black box you’re looking at is called “Git Bash”. Bash is a command line language/interface. In other words, it’s a way to interact with your computer without pointing and clicking. You type code, and the computer does things. It’ll feel a bit unfamiliar at first, but don’t worry - there are just a few commands you need to know to work with git. We’ll use the terms “bash”, “command line”, and “terminal” interchangeably (though in reality these are a bit different).
pwd
Let’s start with pwd. This stands for “path to working directory”. Type it, press enter, and see what happens.
If everything went to plan, you’ll see a path (ie, a location within your computer’s file structure). “Working directory” means the folder you are “in” right now. Just like with a point-and-click program for exploring folders, you can navigate between folders using bash / terminal.
When you typed pwd you were asking your computer which directory (folder) you’re in. It responded. Great! Now let’s see what else is in the folder where you are.
ls
Type ls. This stands for “list” as in "list all the files in this directory. ls is commonly used to quickly see contents of a folder.
cd
You now know how to (a) see where you are and (b) see what else is there. But what about navigation? Let’s say you want to “move around” (ie, go to other folders). You do this using the cd command, which stands for “change directory”.
After typing cd, you should type a space and then the name of the directory you want to navigate to. This directory can be either (a) relative or (b) full. “Relative” means relative to where you are. So, for example, if you are currently in the following folder:
/home/abc/folder1And within that folder you have the following sub-folders:
foldera
folderb
folderc
You could navigate to one of them by typing the full path:
cd /home/abc/folder1/folderaOr by typing the relative path:
cd folderaBoth of the last two commands have the same result: changing your working directory to /home/abc/folder1/foldera.
What about if you want to navigate “up” to the /home/abc folder. Again, you can do this using relative or full paths. To navigate there with the full path, simply type:
cd /home/abcTo go “up” one level using a relative path, use ... So:
cd ..So far so good. Now you can (a) see where you are with pwd, (b) list folder contents with ls and (c) navigate with cd. Those 3 command will cover 80% of what you’ll need to do to use git from the command line.
Configuration
Once you’ve installed git, you’ll likely want to configure some options and preferences. Go here and walk through the steps.
Github
Now you’ve got git. Great! Git is often used in conjunction with a third party, web-based platform. The most popular is github. Go to www.github.com and create a user account.
Creating a repository
Once you’ve created an account and logged in, let’s create a repository. What is a repository? Basically, it’s a project in the form of a folder. Having logged into git, click the “plus” icon in the upper right and then click “New repository” (or go directly here).
You can fill in the “Repository name” field with whatever you’d like. For the following examples, we’ll use the word “testrepo”.
Fill in the “Description” field with the word “My first git repository”.
Set the repo as “Public” (unless you plan on putting any secrets here!), and then click the “Add a README file” checkbox. Finally, click “Create repository”.
Cool! You’ve now created your first git repository. It’s public url is https://github.com/
Cloning a repository
“testrepo” exists on the internet, but does not yet exist on your local machine. In order to get “testrepo” on your computer, you’ll need to do something that you’ll only do once: “clone” the repo. “Cloning” in git-speak means creating a copy of the repository locally.
To clone, you’ll first open your terminal window and cd into a directory where you’d like to clone your repo. For example, if you want to put your testrepo directory into ~/Documents, you’ll type the below into terminal:
cd ~/DocumentsYou can confirm that you are in ~/Documents by typing: pwd. There? Good.
Now, we’ll write the code to “clone” testrepo:
git clone https://github.com/<USERNAME>/testrepoNow, you’ve got a folder on your machine named testrepo. You can confirm this by writing ls in the terminal.
See testrepo there? Great!
Writing some code
In your local testrepo folder, you have a “cloned” copy of the repository at https://github.com/README.md. A “README” file is generally an explanation of a repository’s content, purpose, etc. Like all files, a README can be tracked in git.
Let’s open the README file and make a change to it. We’ll add the below line of “code”:
This is my first git repository.The save and close the README file.
Now, let’s ask “git” if it noticed if we had made any changes. Type the below into terminal:
git statusIf everything has gone well until now, git will reply by telling us that we’ve made a change to the file. We can ask git what change we made by typing:
git diff README.mddiff stands for “difference”, as in "what is the difference between the code I had and the code I have. Git will spit back some color-coded lines showing the change you’ve made.
Satisfied with your change? Great, now it’s time to confirm it by doing the following:
git add README.mdThis tells git that we want it to notice and track the change we made to README.md. Then:
git commit -m 'my first change'This tells git that we are “committing” our change, it marking a checkpoint (to which we can revert later). The -m flag is followed by a message in quotations which will help us to navigate this checkpoint in the future.
Almost there. Now that we’ve added and committed, we need to “push” our change to the remote repository (github), by running:
git pushYou did it! Go to https://github.com/README.md file. You’ll notice that your most recent changes are there. Now, if someone else wants to get your code, they can “clone” your repository, and they’ll have the code you’ve “pushed” there.
A bit more practice
Exercise: creating another repo
Let’s face it: testrepo is a pretty lame name for a repository. How about we make a repo that’s actually real and useful? We’ll make one for storing all the code we’re writing in this course.
Go to https://github.com/
Click the “plus” icon in the upper right and then click “New repository” (or go directly here).
Now, for “Repository name”, write “datascience”.
Fill in the “Description” field with the words “Code I wrote during my intro to data science course”.
Set the repo as “Public” (unless you plan on putting any secrets here!), and then click the “Add a README file” checkbox. Finally, click “Create repository”.
Clone the repo to your computer (Documents folder)
Create a new R script in your repository “datascience” called gapminder
Create a histogram of life expectancy in 1982
Create a line plot for population in Asia, colored by country. Make the lines a bit thicker and more transparent.
Add new x and y axis labels, as well as a chart title.
Create a bar chart of all European countries gdp per capita in 2002
Make the bars transparent and filled with the color blue.
Create a new data set called
the_ninetiesthat only contains years from the 1990s.Save this dataset to your repository (use write.csv)
Add, commit, and push your files to github
The .gitignore
If you cd into datascience, and then type git status, you might note that it’s a bit “busy”. That is, there are a lot of documents there! You’re going to want to (i) add, (ii) commit, and (iii) push these documents, but perhaps there are some kinds of documents you don’t want to push.
For example, maybe you want to push R code files (.R), but not data files (.csv). In this case, you can explicitly tell git that you don’t want it to pay any attention to .csv files by creating a .gitignore file. A .gitignore file is simply a text file in a git repository that indicates to git that the contents of that file should be ignored.
Let’s do it. First, create an empty .gitignore file:
touch .gitignoreThen, open the .gitignore file in RStudio.
Finally, add the following line to it:
*.csvThe star is a “wildcard”, meaning that it stands in place of anything (such as ducks.csv or data.csv or xyz.csv).
With this in your repo, git now knows to ignore anything that ends with the extension .csv.
Good? Great. Push everything to your repo. Now you can share your code with others, and your future self.
Advanced git
Branching, pull requests, blaming, and more - in a break-out session.